This tutorial will walk you through the installation process of Oracle 11g Express Edition in these simple steps:
Step 1: Search for Oracle 11g Express Edition on Google and go to Oracle Website
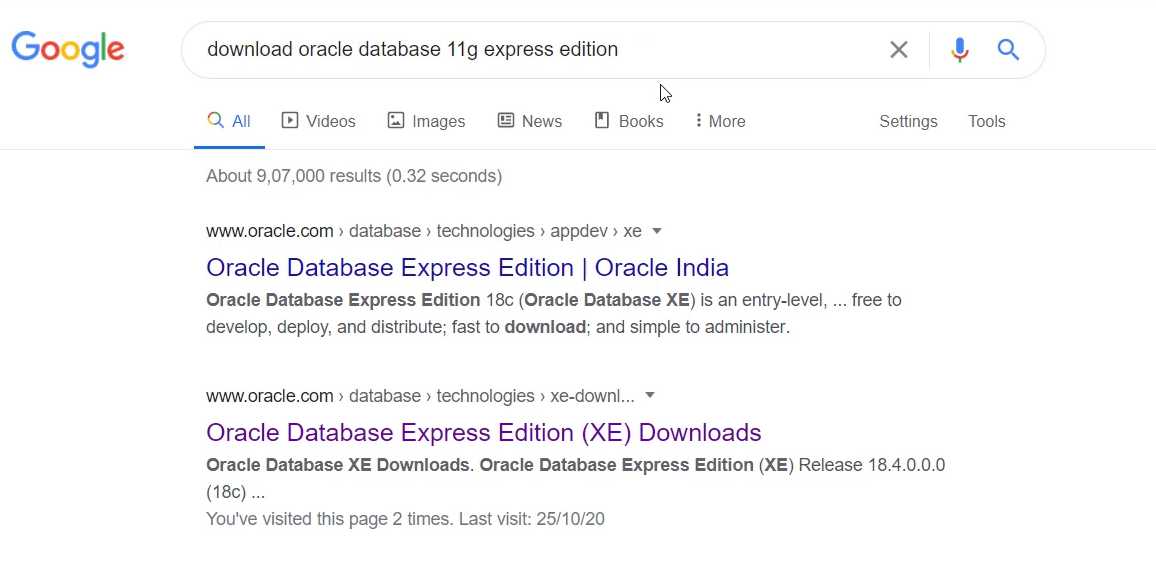
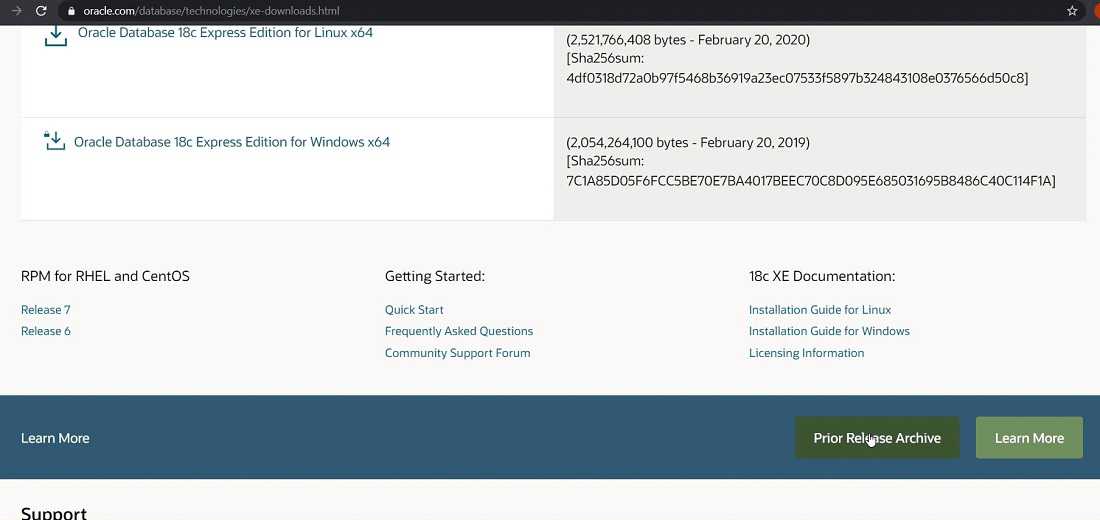
Clicking on the link will take us to this page where we can see the latest version of Oracle, but we want to install the Oracle 11g Version. For this scroll down the page and click on > Prior Release Archive.
Finally it takes us to the page, where we can download the Oracle 11g Express Edition.
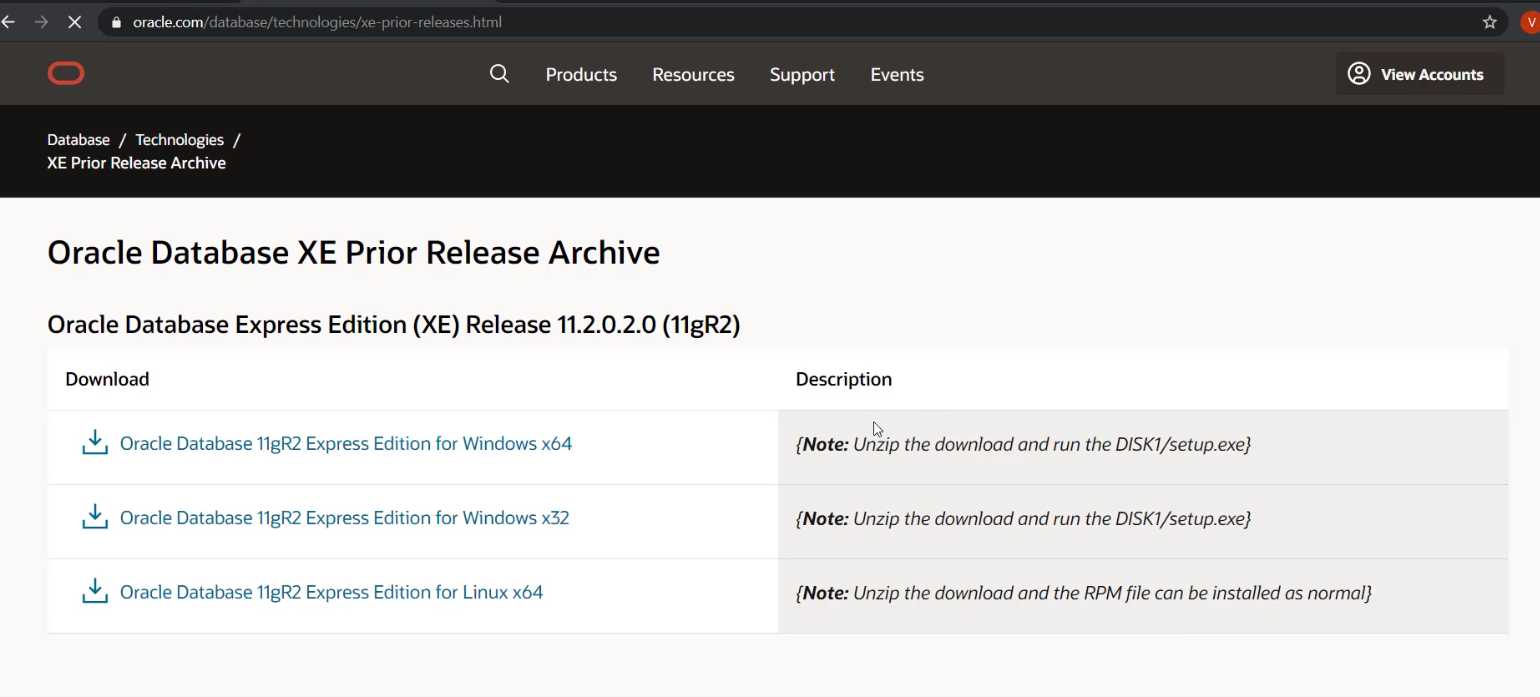
Click on x64 link to download the Oracle database on your 64 bit Windows Machine. You must accept the Agreement to proceed further.
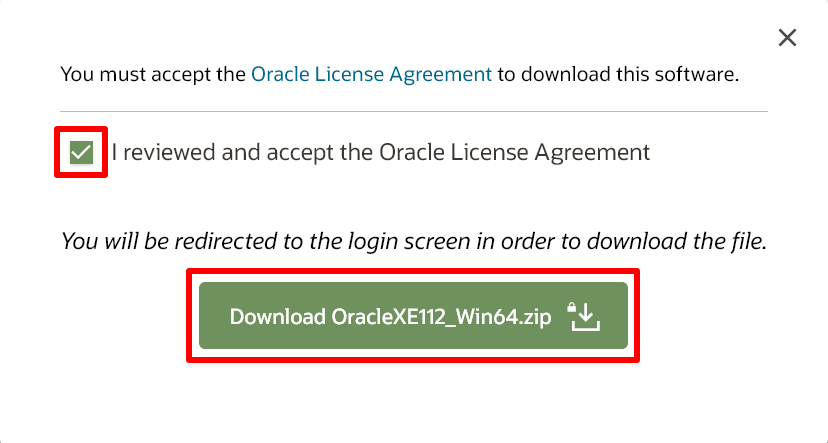
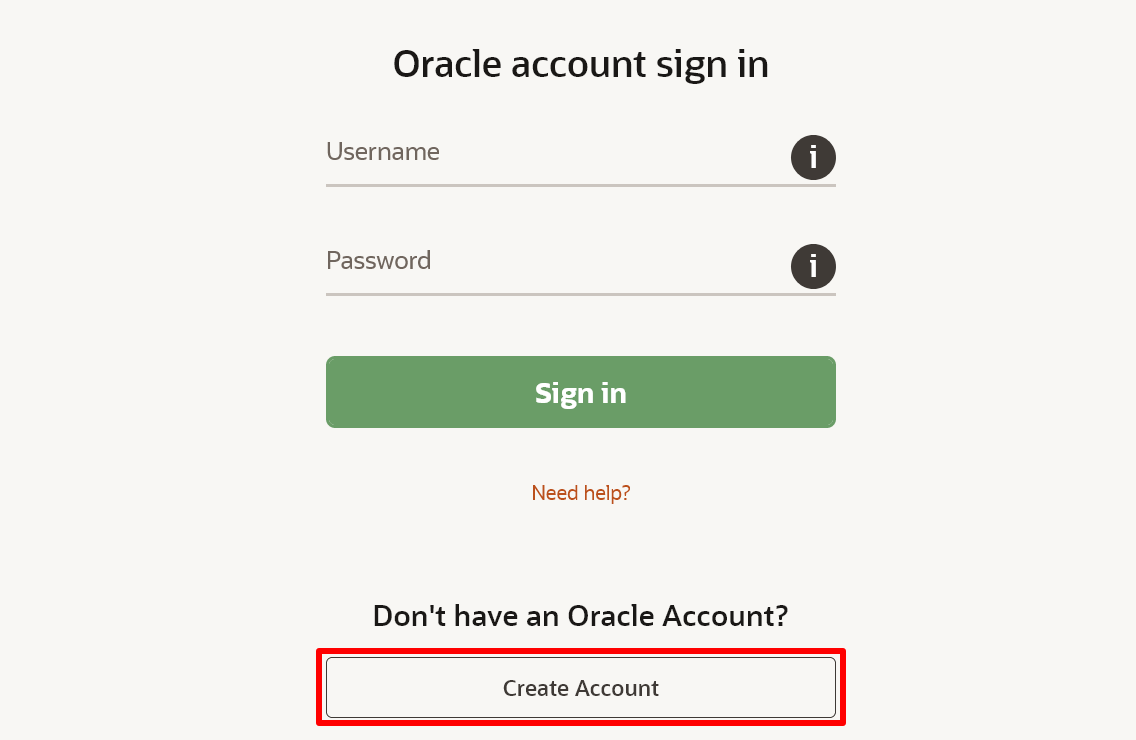
It will ask you to login to your Oracle account before the download begins. If you don’t have an Oracle account, then you can create the FREE account by clicking on > Create account and creating your username and password for login.
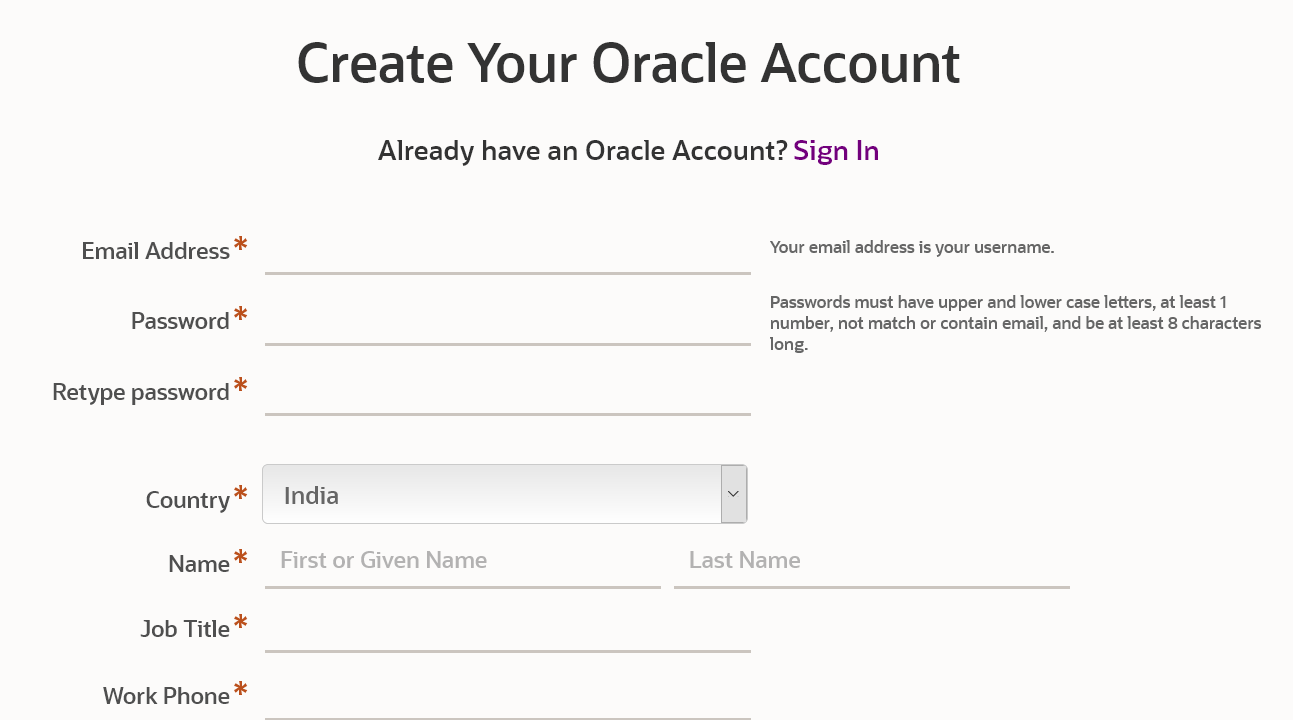
Fill the form to create an account and sign in to your account.
The download will begin.
Step 2: Begin Installation
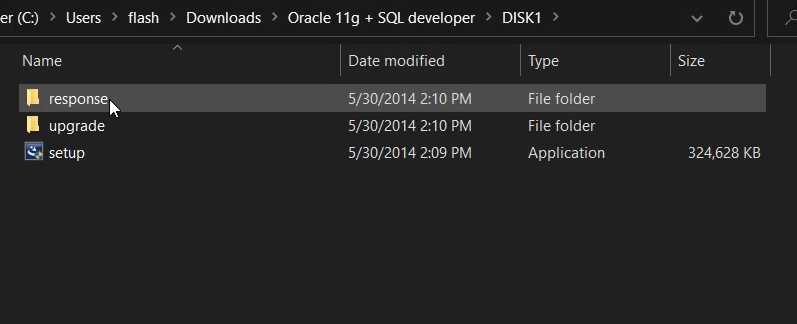
Unzip the downloaded file to get a folder which contains the setup. Start the setup to begin installation.
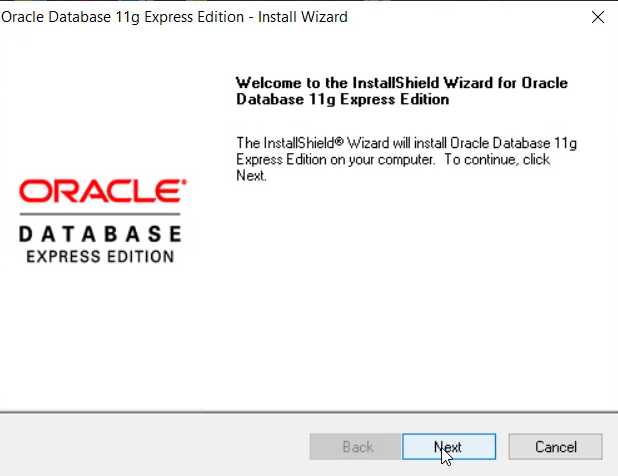
Click on Next.
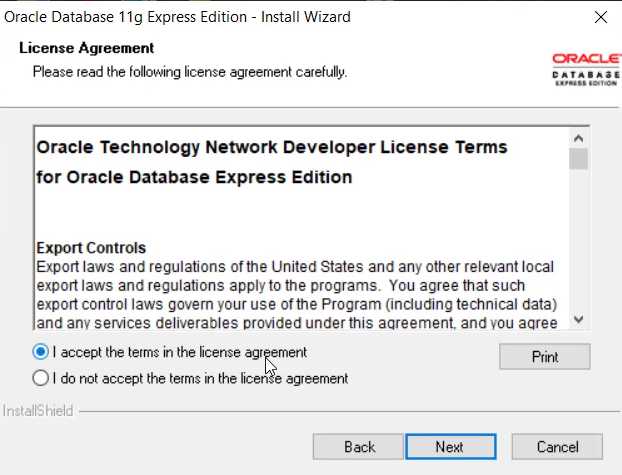
Accept the agreement and click Next,
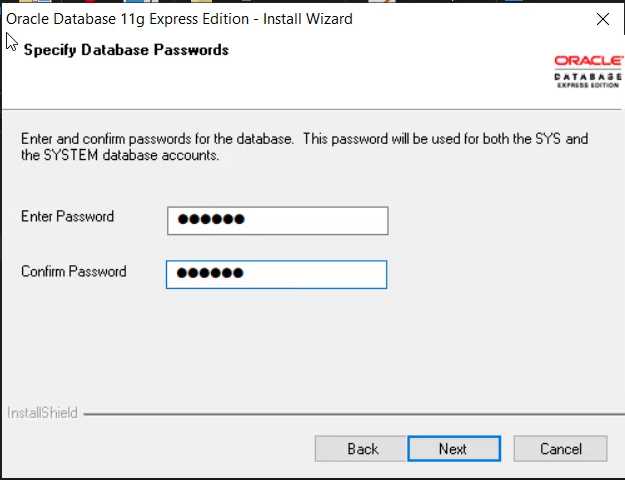
Give Passwords for the default SYS and SYSTEM accounts which has all the administrative privileges in Oracle. Remember to note down these passwords as they are used for accessing these admin accounts.
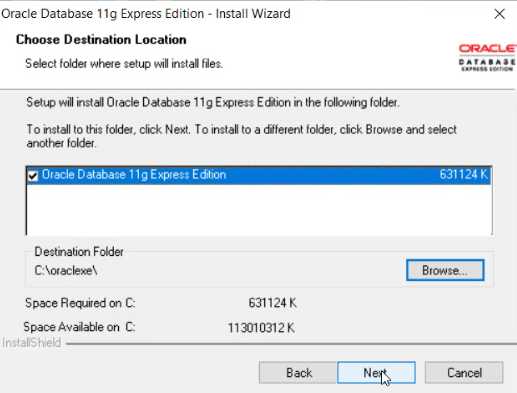
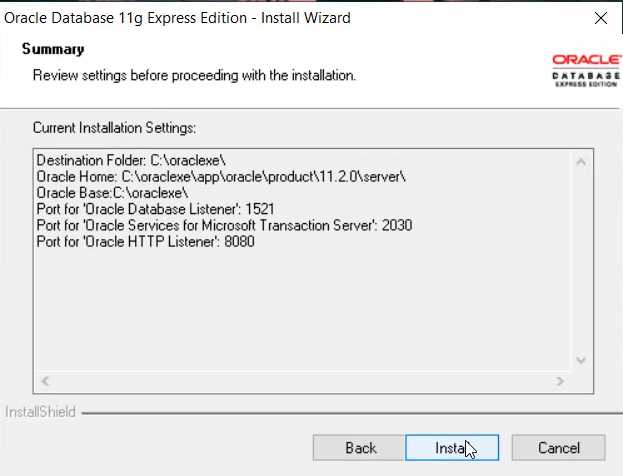
Oracle will show you the default installation path and settings. Click on next to continue.
Here, we give the username and password as,
username – SYS (default account)
password: system
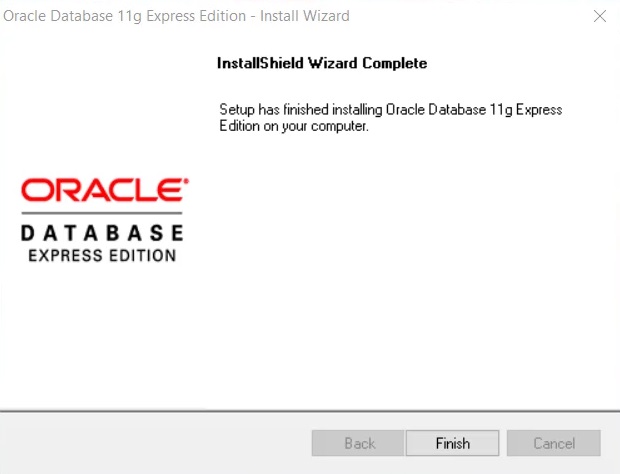
Once we are done with the installation we are greeted with this screen.